

By Katie Adams, Joyride SF Summer Intern
Unless you've been living under a rock for the past few years, you know that cold brew, one of the hottest trends in the coffee world, has unofficially dethroned iced coffee as America's cold, caffeinated drink of choice.
Cold brew coffee is brewed cold (imagine that!) and never heated, while iced coffee, is made by simply allowing hot coffee to cool or icing it down to drop the temperature more rapidly. For iced coffee, the heating and subsequent cooling process alters the chemical structure of the drink, leaving that bitter taste we all despise so much.
In short, while iced coffee simply needs milk and sugar to be palatable, cold brew, done right, can be sweet, flavorful and refreshing without any additives.
For more on the difference between iced coffee and cold brew, check out our past blog post on the topic!
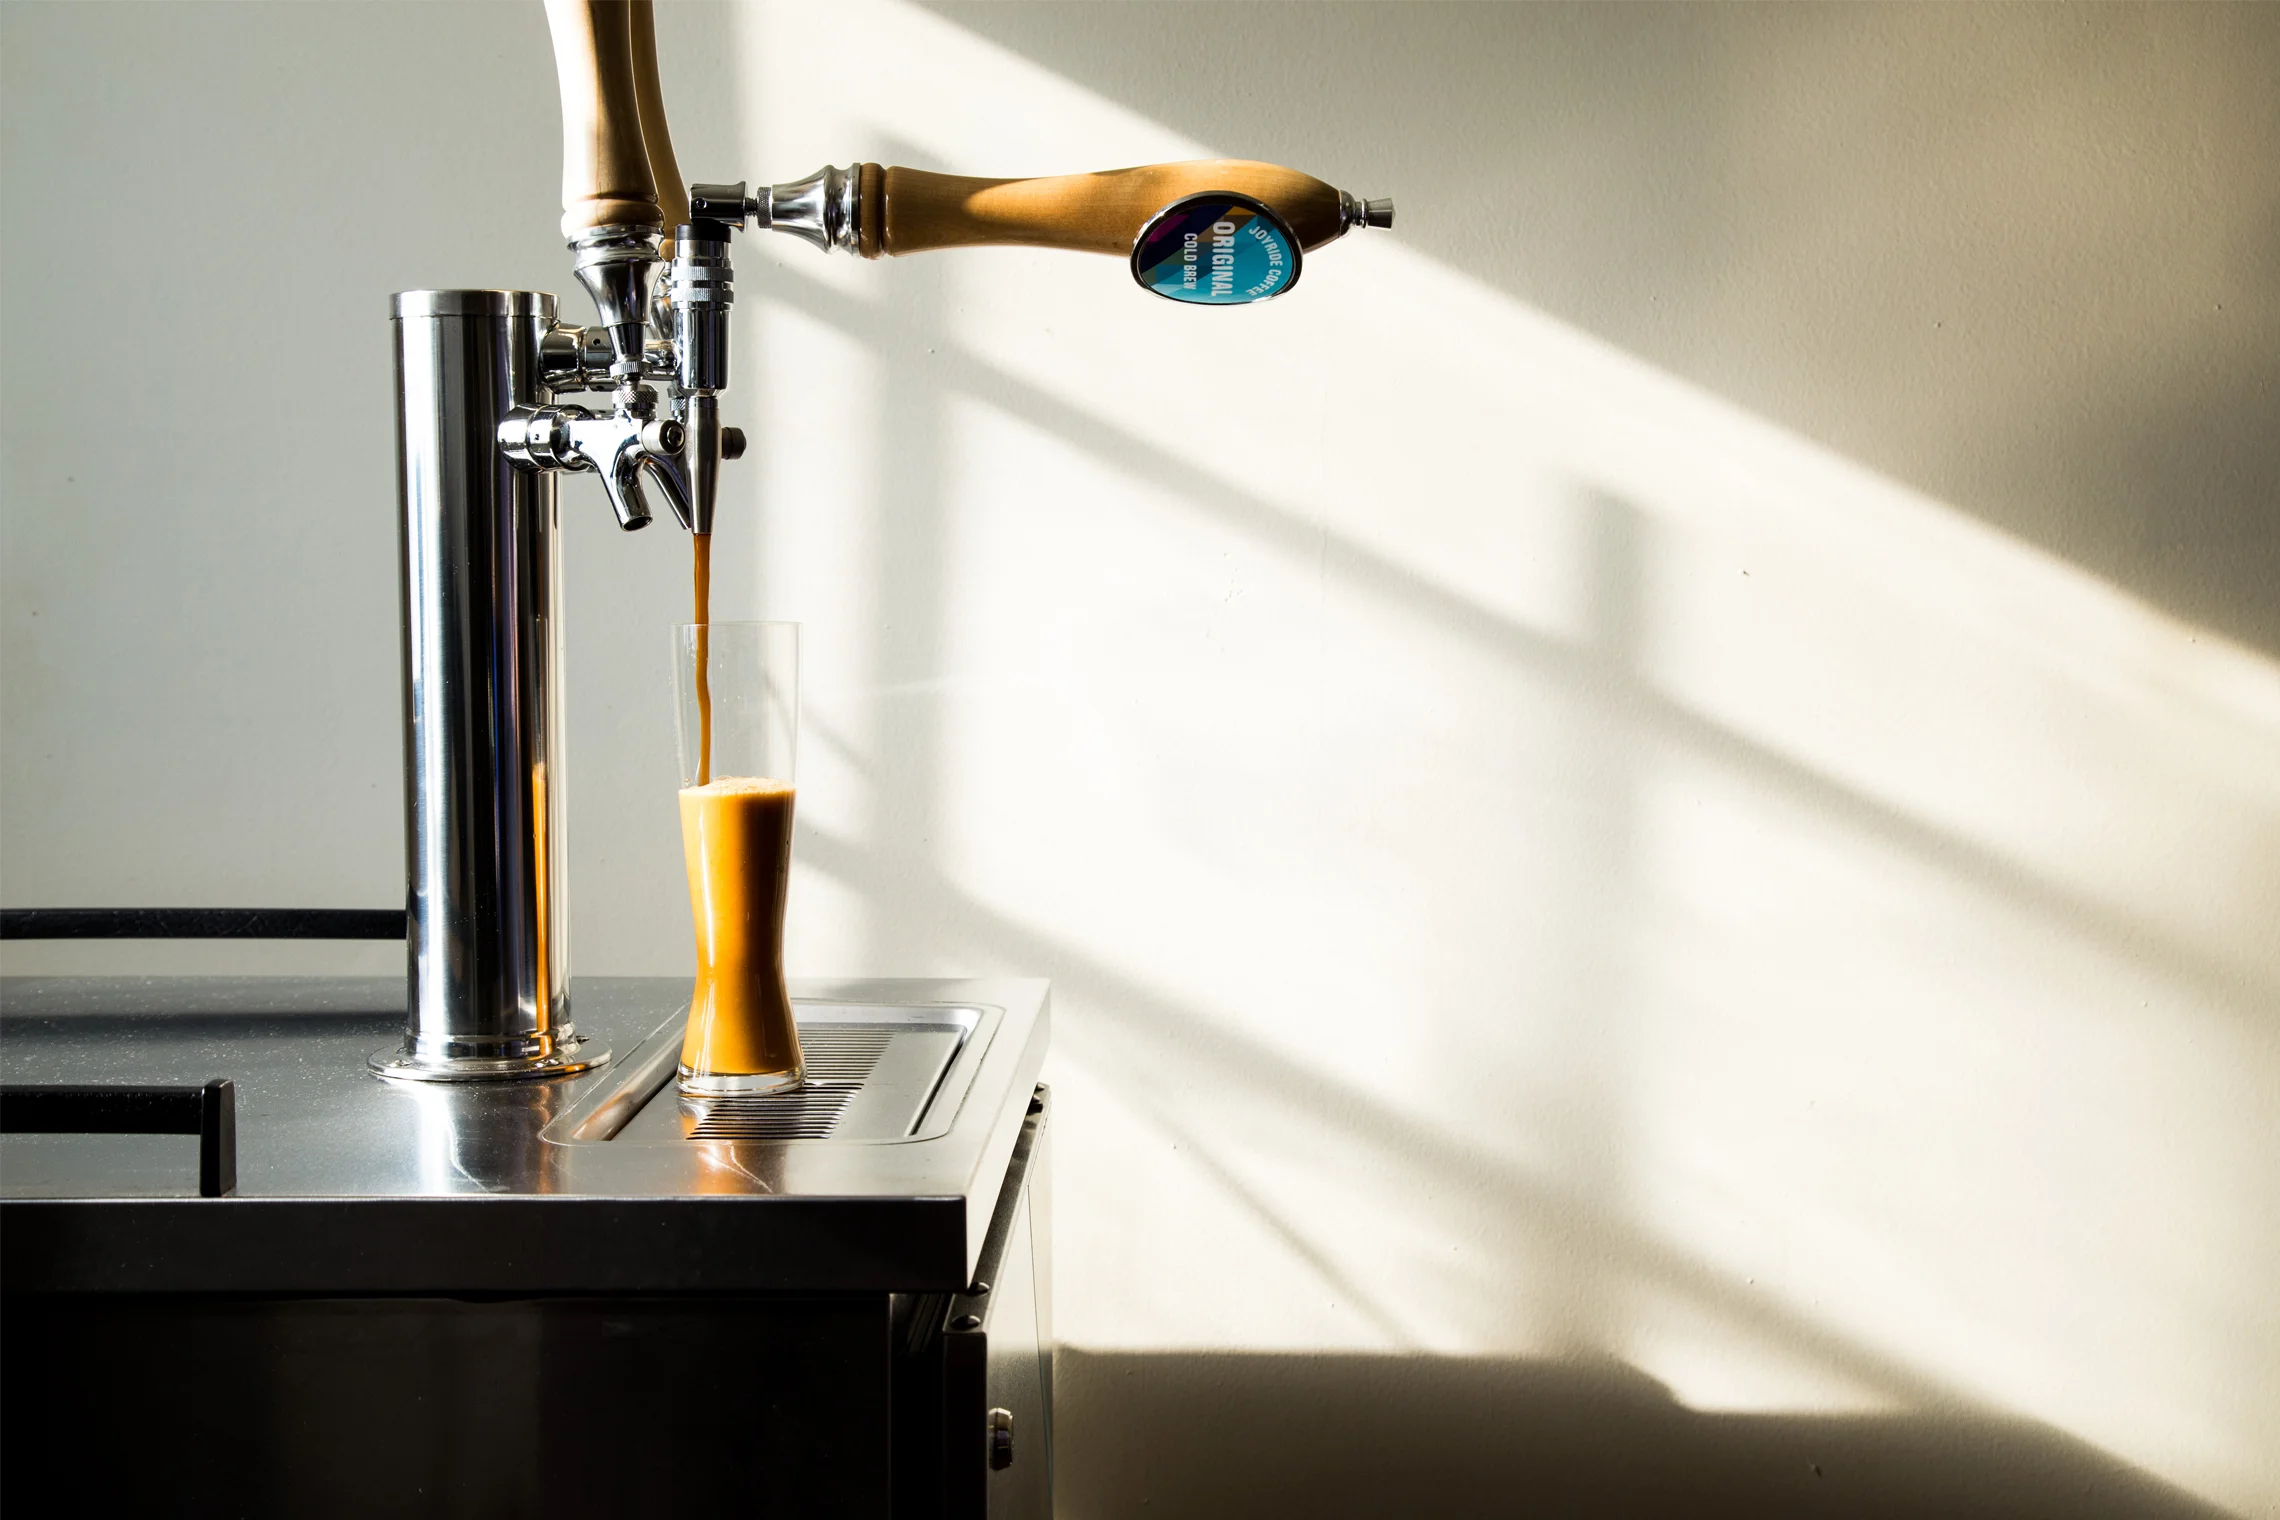
Here at Joyride, our master brewers produce only the highest quality cold brew coffee possible, which are then kegged and distributed to offices around the country. Joyride kegs can also be found in leading cafes located in New York, San Francisco or Los Angeles.
Joyride cold brew is always handcrafted and produced using our proprietary brewing method, which is the result of years of continuous development. During the process, super-freshly roasted coffee is steeped in cold water over a 16 hour period for the best possible extraction and flavor profile.
The result is a dangerously smooth brew with notes of dark chocolate and ripe berries that thousands of lucky office workers enjoy across the country every day. Taking the next step, Joyride has partnered with some of the best roasters in the world to produce the highest quality cold brew to your office or cafe.
Joyride's very own Zach Borders, San Francisco Head Brewer, describes the process: "Cold brew pulls less organic compounds, which are responsible for the more undesirable bitter notes, than hot coffee. Therefore, cold brew produces a sweeter tasting end product."
Zach recommends starting with a freshly roasted beans coming from your favorite blend. By freshly roasted, you are looking for beans that were roasted 7 days or less from when you brew them. Once you have your recipe down (check out suggested recipes below!) he recommends trying out a single origin. "The single origins create a cleaner cup," he says. "They provide more clarity and a high uniformity to personify their various attributes."
The one caveat, he says, is that not all single origins are perfect for the cold brew process - some flavor profiles beneficial to a hot cup can come across as overwhelming or undesirable in a cold brew.
But not to worry - if you're not a coffee pro like Zach, you can still make cold brew on your own, right from the comfort of your home. Cold brew is versatile, and as a result there are many brew methods that can be used to make a great cup. However, all great cold brews have a few things in common: Patience, precision and a great coffee to start with.
How to Cold Brew Coffee: A DIY Guide
Below are a number of cold brew methods that are easy to do at home. We recommend that you "dial in" these methods to find the balance perfect for you. Since everyone's tastes are different, tinkering with the ratio of coffee to water, time and grind setting to match your personal preferences is part of the fun!
As a general guide, extraction rates will increase with added time, a finer grind setting, and a higher temperature. More extraction means a stronger brew, but too much can start drawing out bitter flavors, even with the best coffee and no added heat.
In general, your cold brew will remain fresh for about two weeks, if kept in an airtight container - such as a bottle or other screw-cap vessel - in your refrigerator.
French Press:
One great way to cold brew coffee is using a french press. Fortunately, most people have one handy. For this method, you will need a French Press, large bowl or jar, ground coffee, wooden spoon, water, measuring cup, and a paper filter.

Photo Courtesy: dulanotes.com
Grind freshly-roasted coffee to a coarse setting, with particles similar in size to the tip of a ballpoint pen
Measure out 1 cup of coffee for every 32 oz of water and pour into press
Stir mixture with the wooden spoon until grounds are completely saturated
After mixing, cover mixture with plastic wrap and let sit for 16 hours on your kitchen counter or table in ambient temperature. If you are brewing in your refrigerator, add 4-6 hours to the brew time.
Once the wait is over, place the french press lid back on and depress the plunger, being careful to not apply too much pressure and squeeze the coffee.
To reduce sediment, slowly filter the concentrate over a paper filter into a clean bowl or jar until all liquid has passed through. A Chemex filter or any other coffee filter will do. If you aren't filtering the french press, be sure to decant the coffee into another container. It will continue to brew if left in the french press with the grounds, even when fully depressed.
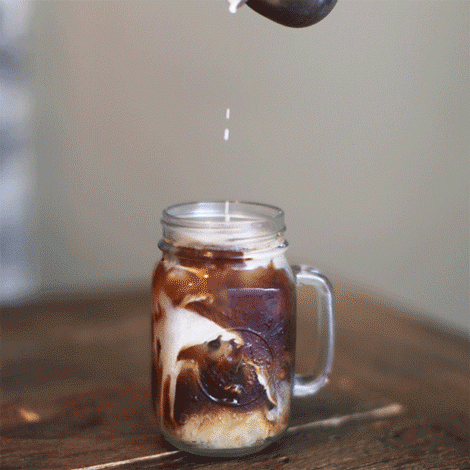
Because what you've just brewed is a natural concentrate, the caffeine will be about twice as strong as a normal cup of coffee. We suggest you dilute the mixture with a 1:1 ratio of coffee to water (or milk!). However, the concentrate can also be used as a mixer for drinks or even enjoyed straight-up... if you dare.
Mason Jar:
Perhaps the simplest method, you will need a large mason jar, a large bowl, a sieve, paper filter, ground coffee, wooden spoon, water and a measuring cup.

Photo Courtesy: nytimes.com
Grind freshly-roasted coffee to a coarse setting, with particles similar in size to the tip of a ballpoint pen
Measure out 1 cup of coffee for each 32 oz of water and pour into large mason jar
Mix with wooden spoon until grounds are completely saturated
After mixed, cover jar with plastic wrap and let sit for 16 hours on your kitchen counter or table. If you are brewing in your refrigerator, add 4-6 hours to the brew time.
After the long and tortuous wait is over, slowly strain mixture over paper filter into large bowl or another mason jar until all liquid has passed through
Stop when you reach solids at the bottom of the original jar
Remove and dispose of paper filter
Place the sieve over clean jar
Pour coffee through the sieve into jar
Cold Brew Concentrate is ready to go! But to dilute it, we recommend adding water or milk at a 1:1 ratio!
Toddy Brewer:
A system designed specifically for cold brew, there are several models to choose from - in additon to Toddy, OXO and Filtron both make home units, and this method can be used to make cold brew on any of them. You will need your Toddy Brewing Container, 12 ounces of ground coffee, 7 cups of water, and white circular sponge filter.
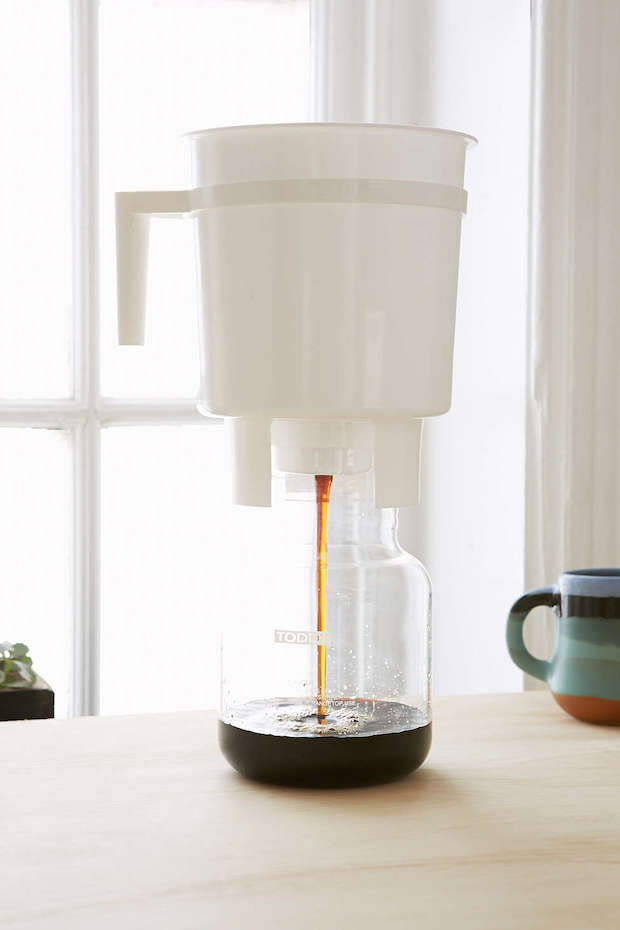
Photo Courtesy: www.dailycoffeenews.com
Grind freshly-roasted coffee to a coarse setting, with particles similar in size to the tip of a ballpoint pen
Secure the stopper at the bottom of the brewing container
Wet filter and place snuggly into the inside bottom of the brewing container
Add 1 cup of water to brewing container
Slowly pour 6 ounces of ground coffee to brewing container
Slowly add 3 cups os water over mixture in a circular motion
Add remaining 6 ounces of coffee then wait five minutes
After five minutes, add 3 more cups of water, remember: DO NOT STIR
Then cover top of brewing container with plastic wrap
Steep for 12-24 hours at room temperature
After the wait, remove the stopper to release the coffee concentrate in the glass decanter
Dilute your concentrate (we recommend a 1:1 ratio!) and enjoy!
For Toddy's official recipe, check out the instructions on their website!
Now that you know all the steps, there's no excuse for bad iced coffee!
Cheers! Let's Get Brewing!